Explore PEAK
Explore BlueDEF
Explore Final Charge
Explore Fleet Charge
Find the right products for your specific vehicle.
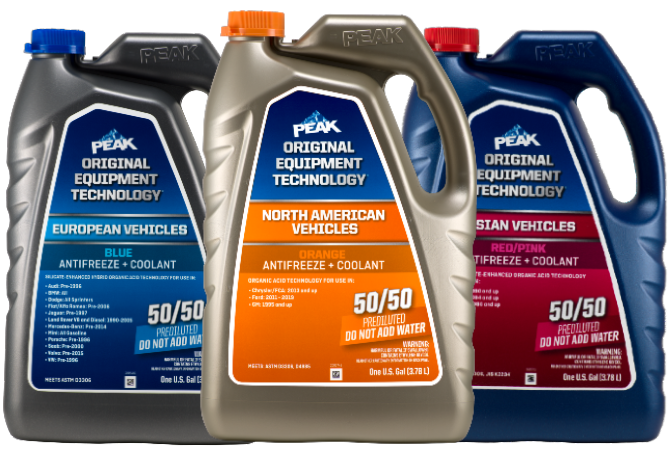
Part #NACB53
Part #PKN0D3
Part #ASV281
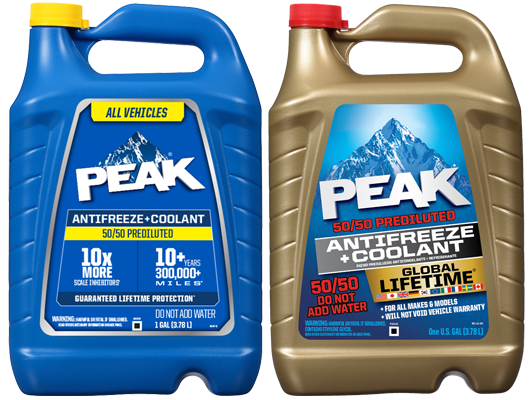
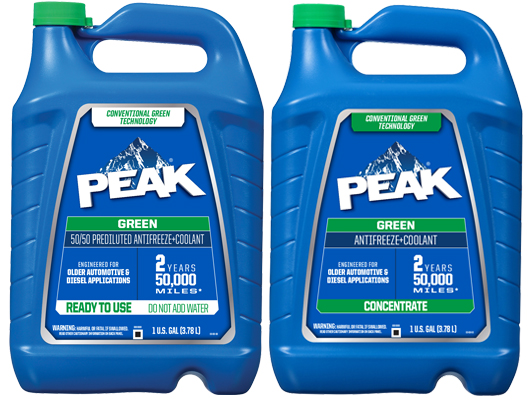
Antifreeze + Coolant
Extended life coolant designed to be used in all vehicle makes and models.
For older vehicle makes and models.
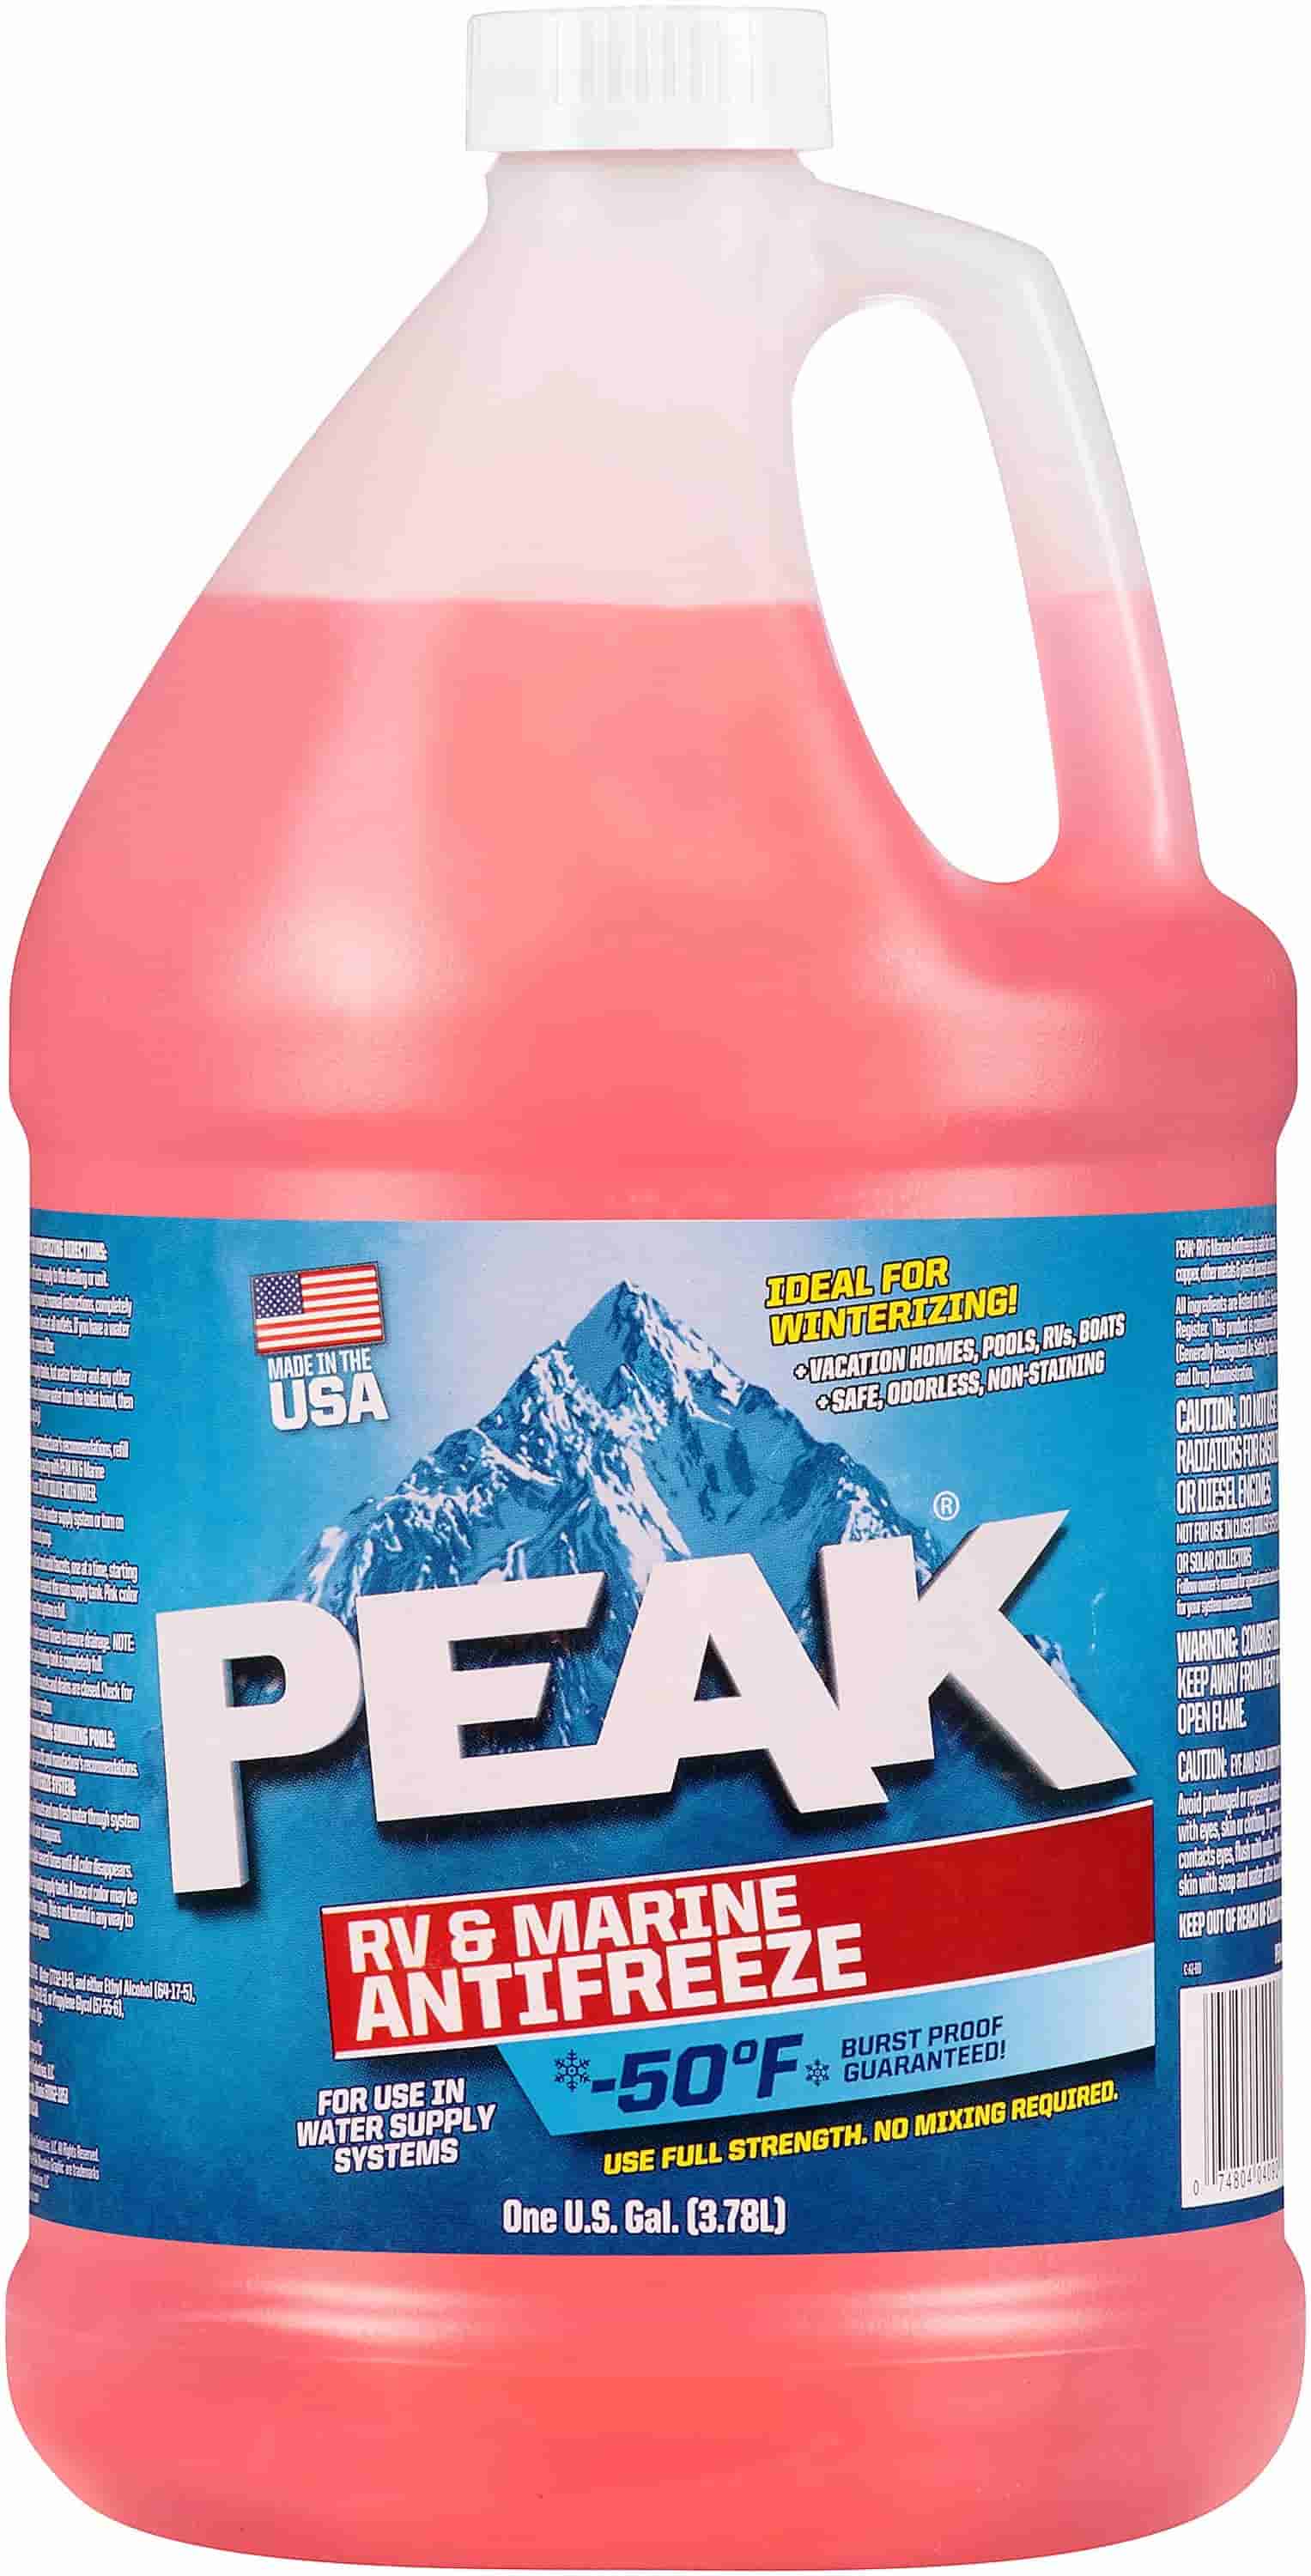
Formulated for winterizing all types of potable water plumbing systems and a variety of other winter storage applications.